Recently I married into a MCS Series 6604 Quartz Locked Direct Drive Semi-Automatic Turntable. That is a lot of words to describe what is a slightly cut down Technics SL-QD series turntable. Apparently in exchange for being sold at J. C. Penney for a lower price, Technics shaved the 'fully automatic' functionality, meaning the tonearm returns when a record is finished, but you are on your own to cue playback (it will lower the tonearm for you however).
Anyway, the one in my possession seems in good working order. Playback speed in constant with no discernible variation, automatic return works, the stop button works, the strobe LED is nice and bright, and the cartridge is in good shape. The only issue is a higher than I would like amount of noise with occasional radio interference. Given that the ground cable had a splice of unknown origin (I never trust a splice I didn't make), I figured replacing the ground wire would be a good place to start.
First, look at the original ground wire. It's too high of a gauge (12 GA), bare wire terminated (only an issue if you are obsessive about stray wires like me), red (the one color ground should never be), and spliced.
Disassembling the unit is simple. Unplug the unit and remove the RCA and power cables. Flip it on its dust cover (assuming you have yours) and remove the 5 cute, red, self tapping, screws. Next, pull out the feet. Finally, you should be able to free the base of the unit, revealing the internals. If a previous owner has gotten overzealous with oil (as evident in the picture below), feel free to clean it up now with a little rubbing alcohol.
The insides of the unit are simple.
Notice the Technics badging on the PCBs.
Technics labeled motor drive ICs.
Look at the old ground wire routing. It unnecessarily runs under the wire for the return switch (twice!) and gets needlessly close to the mechanicals. We can do better.
Since I hate bare wire connections (especially around power amplifiers), I made a new wire with a #6 spade lug. Really, any size smaller than a #10 should fit on most ground screws. Pick whatever is readily available for the wire gauge you'll be using (I used 16 GA stranded, there should be basically no current here, so next to anything should work).
While not shown, I did heatshrink the base of the spade lug connector so it looks nice. Now, note the better routing path made possible by using more flexible, thinner wire.
After soldering and routing the ground wire. You can put the thing back together the opposite of how it came apart. Assuming you (or one of the previous owners) haven't lost it, don't forget the little plastic block that holds the ground wire in it's slot, keeping you from ripping the whole audio connector shield off when something gets caught on the ground wire (instead you'll just pull the unit off it's shelf and onto the floor, much better).
Four of the screws go through the feet, and the feet fit around the standoffs the screws thread into, but the bottom of the feet should not be flush with the base of the unit, and should instead stick out slightly with a gap. This supposedly helps the unit self level.
Once everything is back together, connect it to your receiver and test it out. I'm using Creedence Clearwater Revival's 'Green River' album here.
When all was said and done, noise wasn't significantly reduced, but I haven't overheard any radio since the replacement, so perhaps it was an improvement.


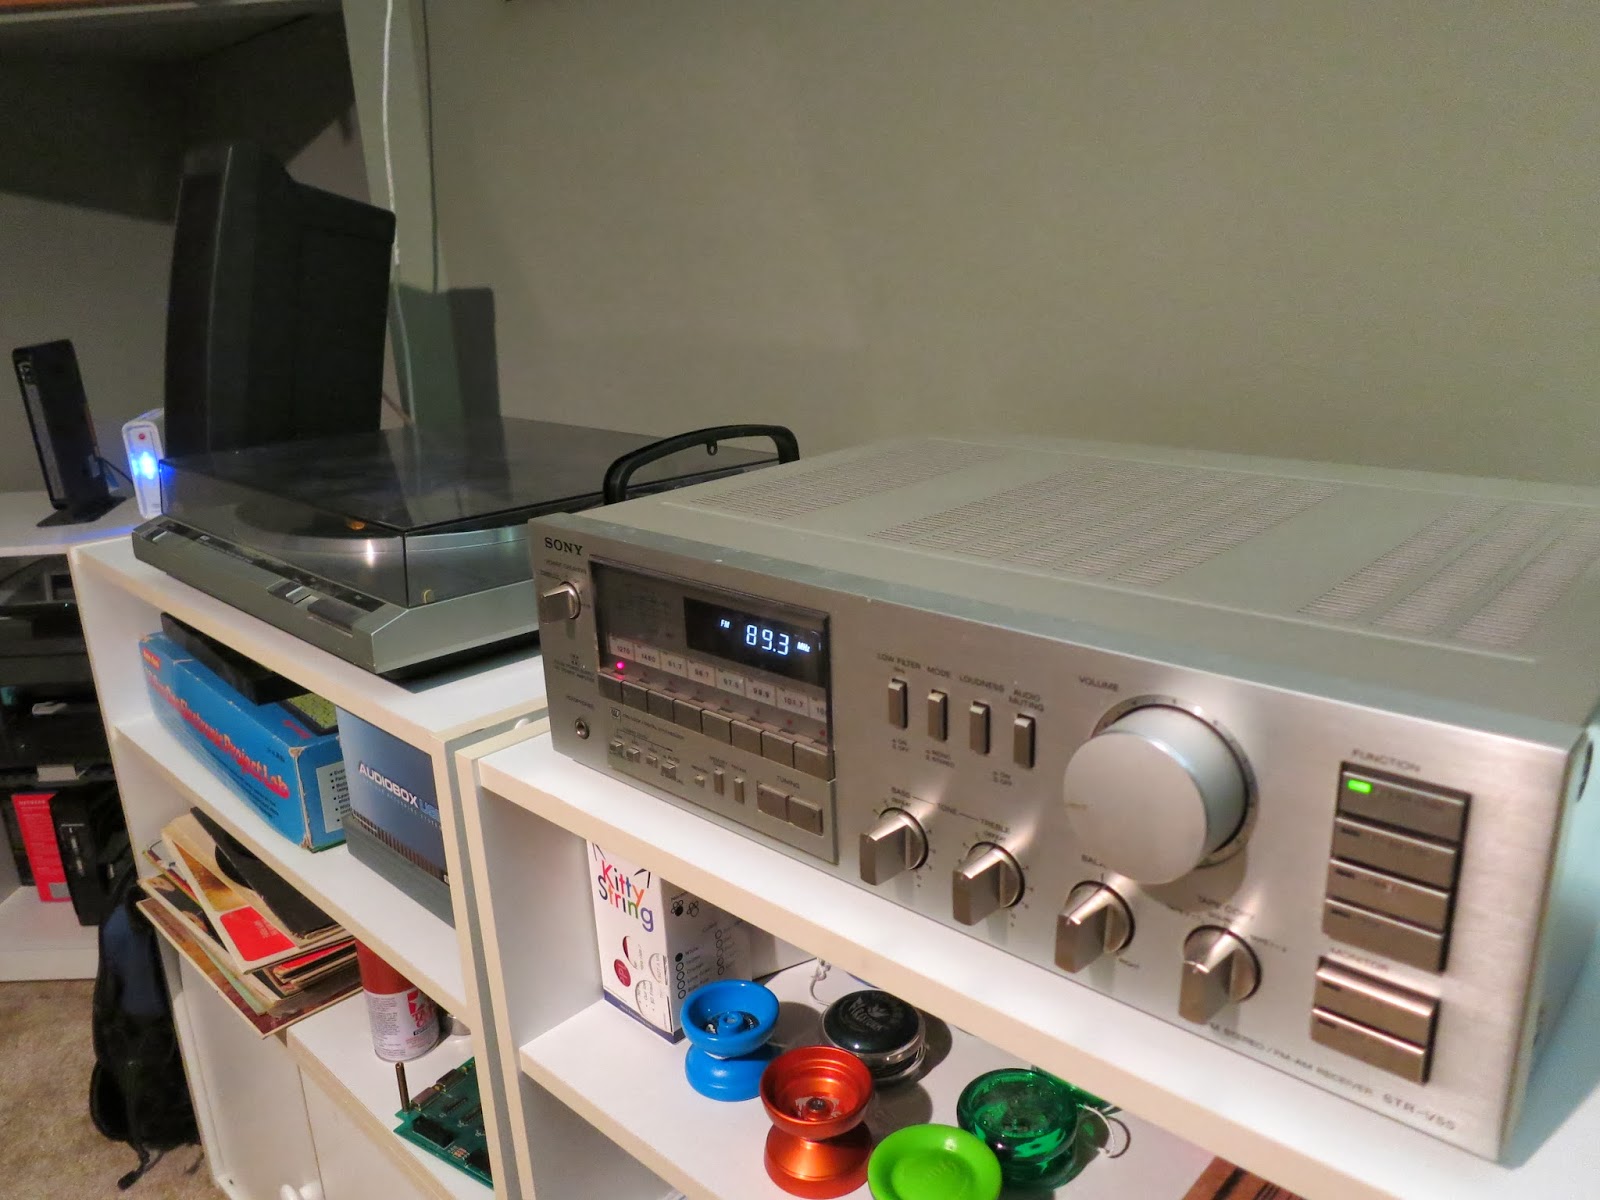
Dear Brandon, congratulations for you nice STR-V55, it is a Sony masterpiece, i have one too, in some post you said that own a brochure about STR-V55 and other sony´s STR-Vxx, please , could you share a scanned copy of your sony brochure? my email is pinedaee@hotmail.com
ReplyDeleteThank you
Sure can, just sent it!
DeleteHi,i have this model of turntable 6604 i need help to fix them,but i need the manual,where you download the manual?
ReplyDelete